I'll preface this review with the same pre-amble as our review on the Gstove 'Heat View XL'. We are the distributors for the range of Gstove product for Australia and New Zealand.
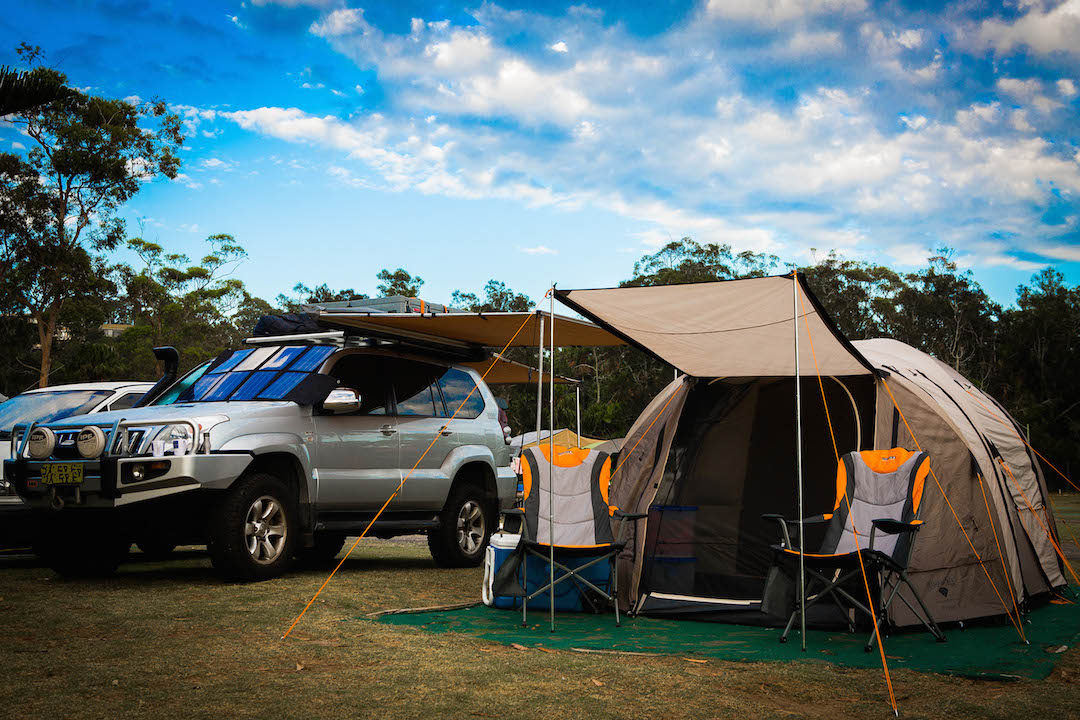
 Right, now to the review. We opted to make the 7-9 man variant of the Gstove tipi tent range part of our camping kit, being the distributors we had access to both the two-man and 3-5 man varieties as well but bigger is better right? Well, I guess it depends on what type of camping you're doing and for the purpose of this review it's probably irrelevant. If your into hiking into the scrub for some remote wilderness camping then the two-man would be the obvious choice, but for us, as always we were camping alongside the car, and we would need room for the kitchen sink.
The first thing that appealed to me about the tent was it's the relatively lightweight and compact size when packed up given that the footprint of the tent measures 4.2 metres by 3.7 metres when erected, couple this with the 3-metre height and you have a very spacious single room tent. The confusing thing though was the number of bags supplied with the kit. The tent comes in a nylon bag with a couple of carrying handles, standard stuff. But inside there's more, one the same as the bag that the tent is in. only larger. The official Gstove website tells us that this a 'stuff sack' type of bag that is designed to allow you to simply stuff the tent inside, even with the optional zip-in floor fitted. The benefit being that if you're in a hurry because you couldn't face the fact of packing up and heading home to get ready for work tomorrow and it's now way later than you anticipated then you can just shove it in there and not have to try and replicate the robot-like folding job that the tipi comes to you in, great idea. But then there's another bag, this one is supplied as a reusable garbage bag so you can take home whatever you took in with you, nice touch.
 OK so we've got the tipi out of the bag and spread it out on our chosen site, it's big, very big. The first thing we did was to zip in the optional floor, we found it easiest to flip the tipi onto it's 'back' to do this. Care needed to be taken to ensure that the zipper didn't catch on any of the nylon bits of the tent. The beauty of the zip in floor is that allows you to remove it for cleaning and/or replacement should it get damaged but essentially once it's on, it can stay on.
Flipping the tipi back over we pegged out the floor. This is a little trier than a traditional square or rectangular shaped tent where you do the four corners first and then fill in the gaps. We did the two at either side of the door first and then the two directly opposite, we then did the two remaining peg points on the side. The next bit is a little fiddly first time as it involves putting the hood on prior to standing the centre pole up, the hood has six ropes that tend to want to tangle around each other but like all tents, once you get to know it gets easier. It's important at this point that you tension the ropes because once the tipi is up, it is nigh on impossible. This does mean that the pole has to go up and down a couple of times until you get it right, but once done you won't have to worry about this step.
 So now our centre pole is up and all that remains is to peg out the ropes that support the walls. We followed the same pattern as with the floor, starting at the door then the two ropes opposite at the rear of the tipi and then finishing off by doing the two ropes on the side on the sides. Again this is all a little confusing first time around. There are essentially two ropes for each point on the wall that needs pegging and a corresponding rope on the top hood, so eighteen in total. Sounds bad right? Well yes, the first time around it's a bit of a nightmare. The secret is to connect the top hat ropes onto the upper sidewall ropes and then peg the upper sidewall rope and the lower sidewall rope into the one peg point. So in effect, you are only putting in six pegs to hold the 18 ropes required.
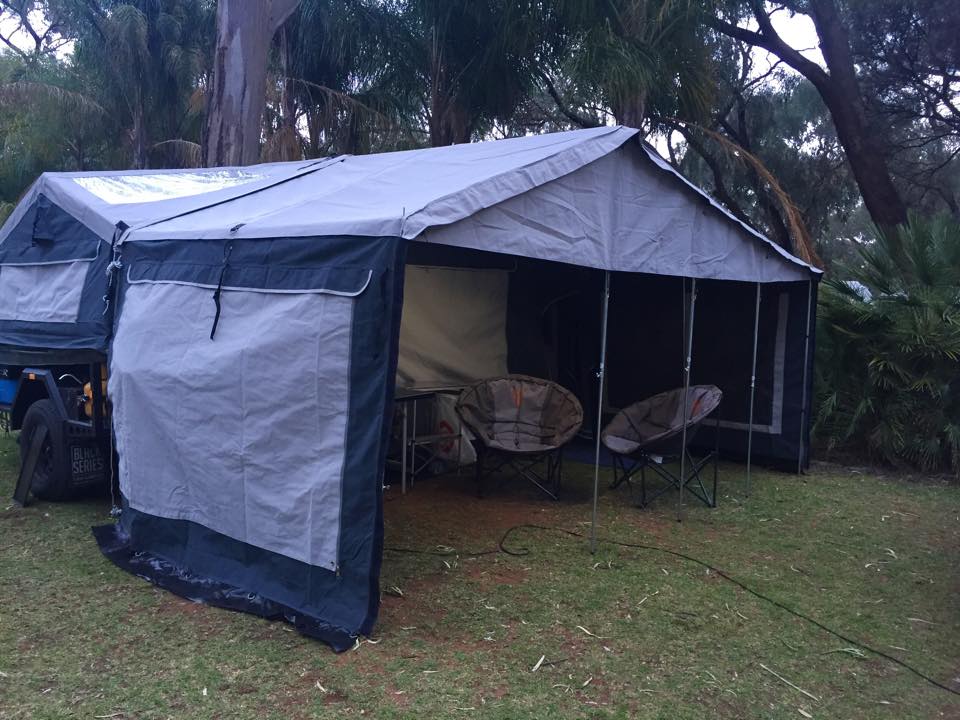
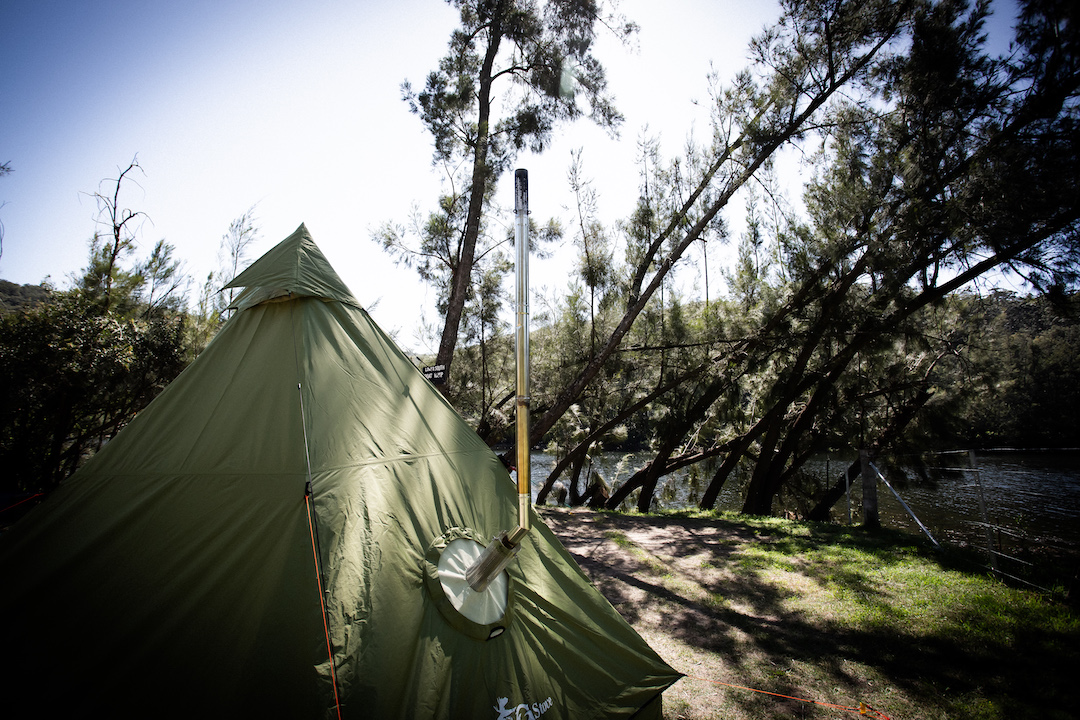
So now our tipi tent is set up ready to sleep. It took us around 45 minutes the first time around but we can now get it to this point in around 15 minutes, pack up time is less than 5 minutes thanks to the supplied stuff sack that we spoke of earlier.
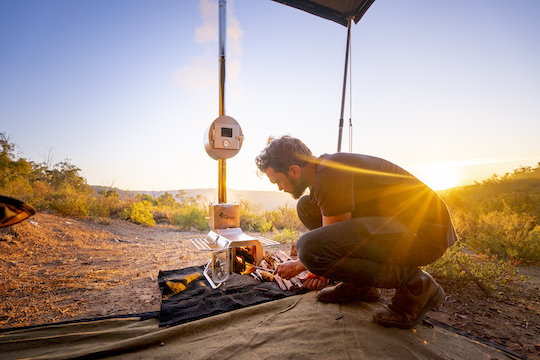
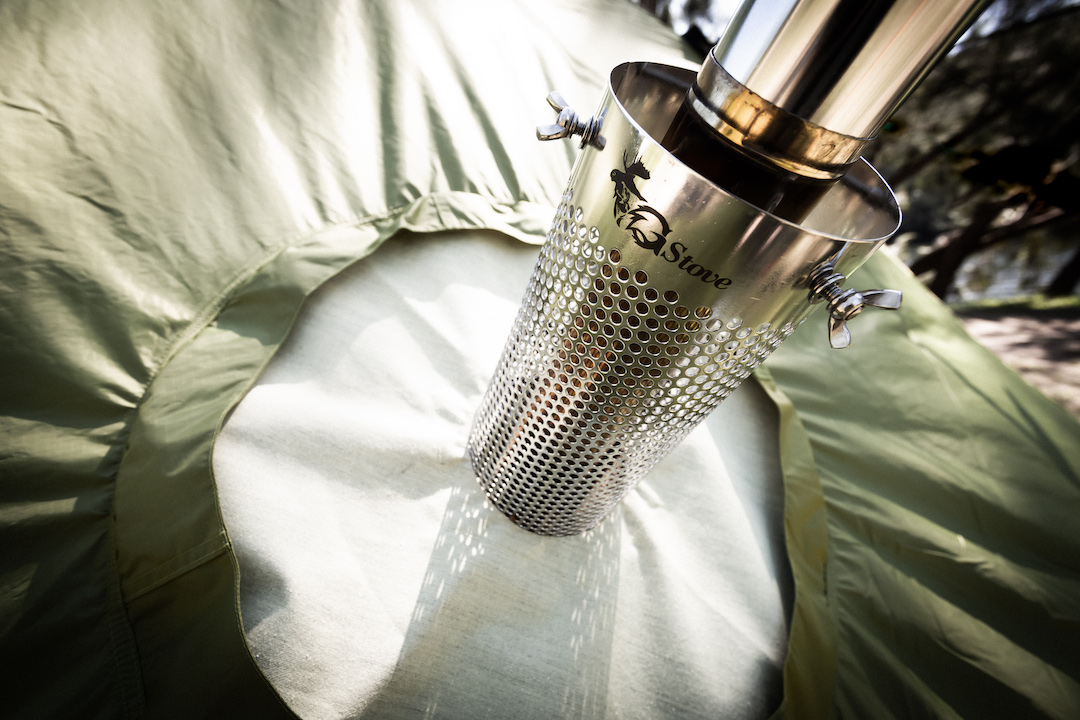
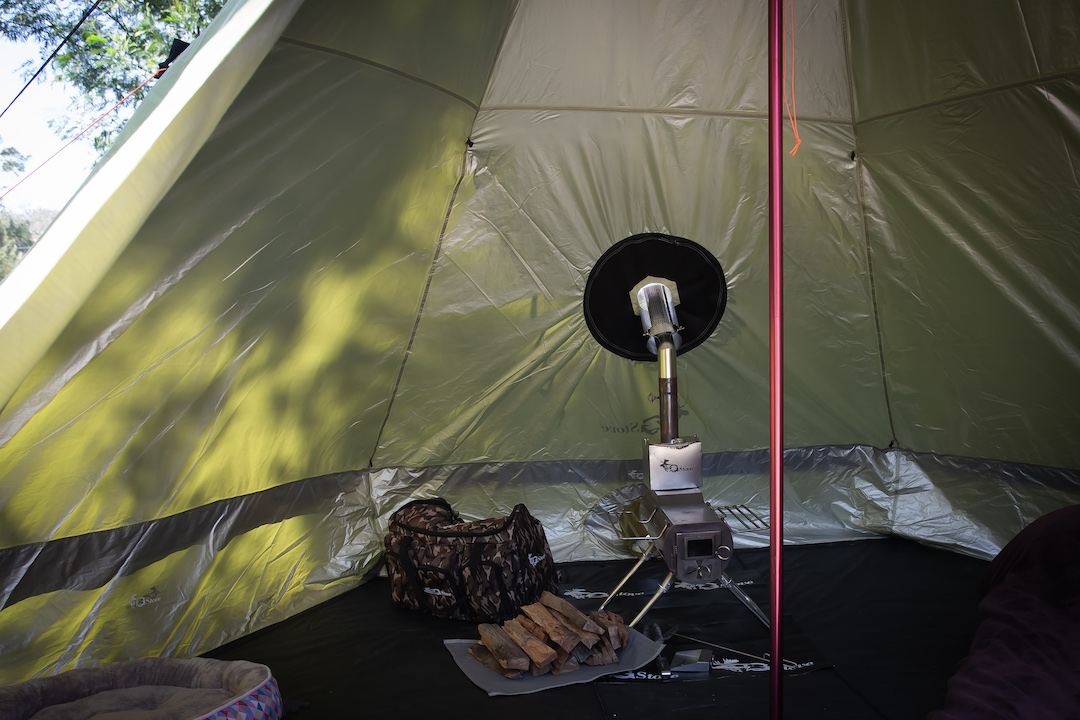 We opted to set up our Gstove 'Heat View XL' near the back wall and exit the chimney flue out through the window opening utilizing the optional 'Heat Proof Window Covering'. This also required the use of two 45 degree elbows and a tent protector. We also set the stove up with extended legs as it makes it a more workable height and having space underneath is great for drying damp boots and socks, keep an eye on them though, these Gstoves get bloody hot. With so much room, we spent the evening laying in front of the stove and drinking a few refreshing ales and the bride appreciated the stove the next morning as she slowly awoke to the smells of fresh coffee and the sounds of bacon & eggs being prepared.
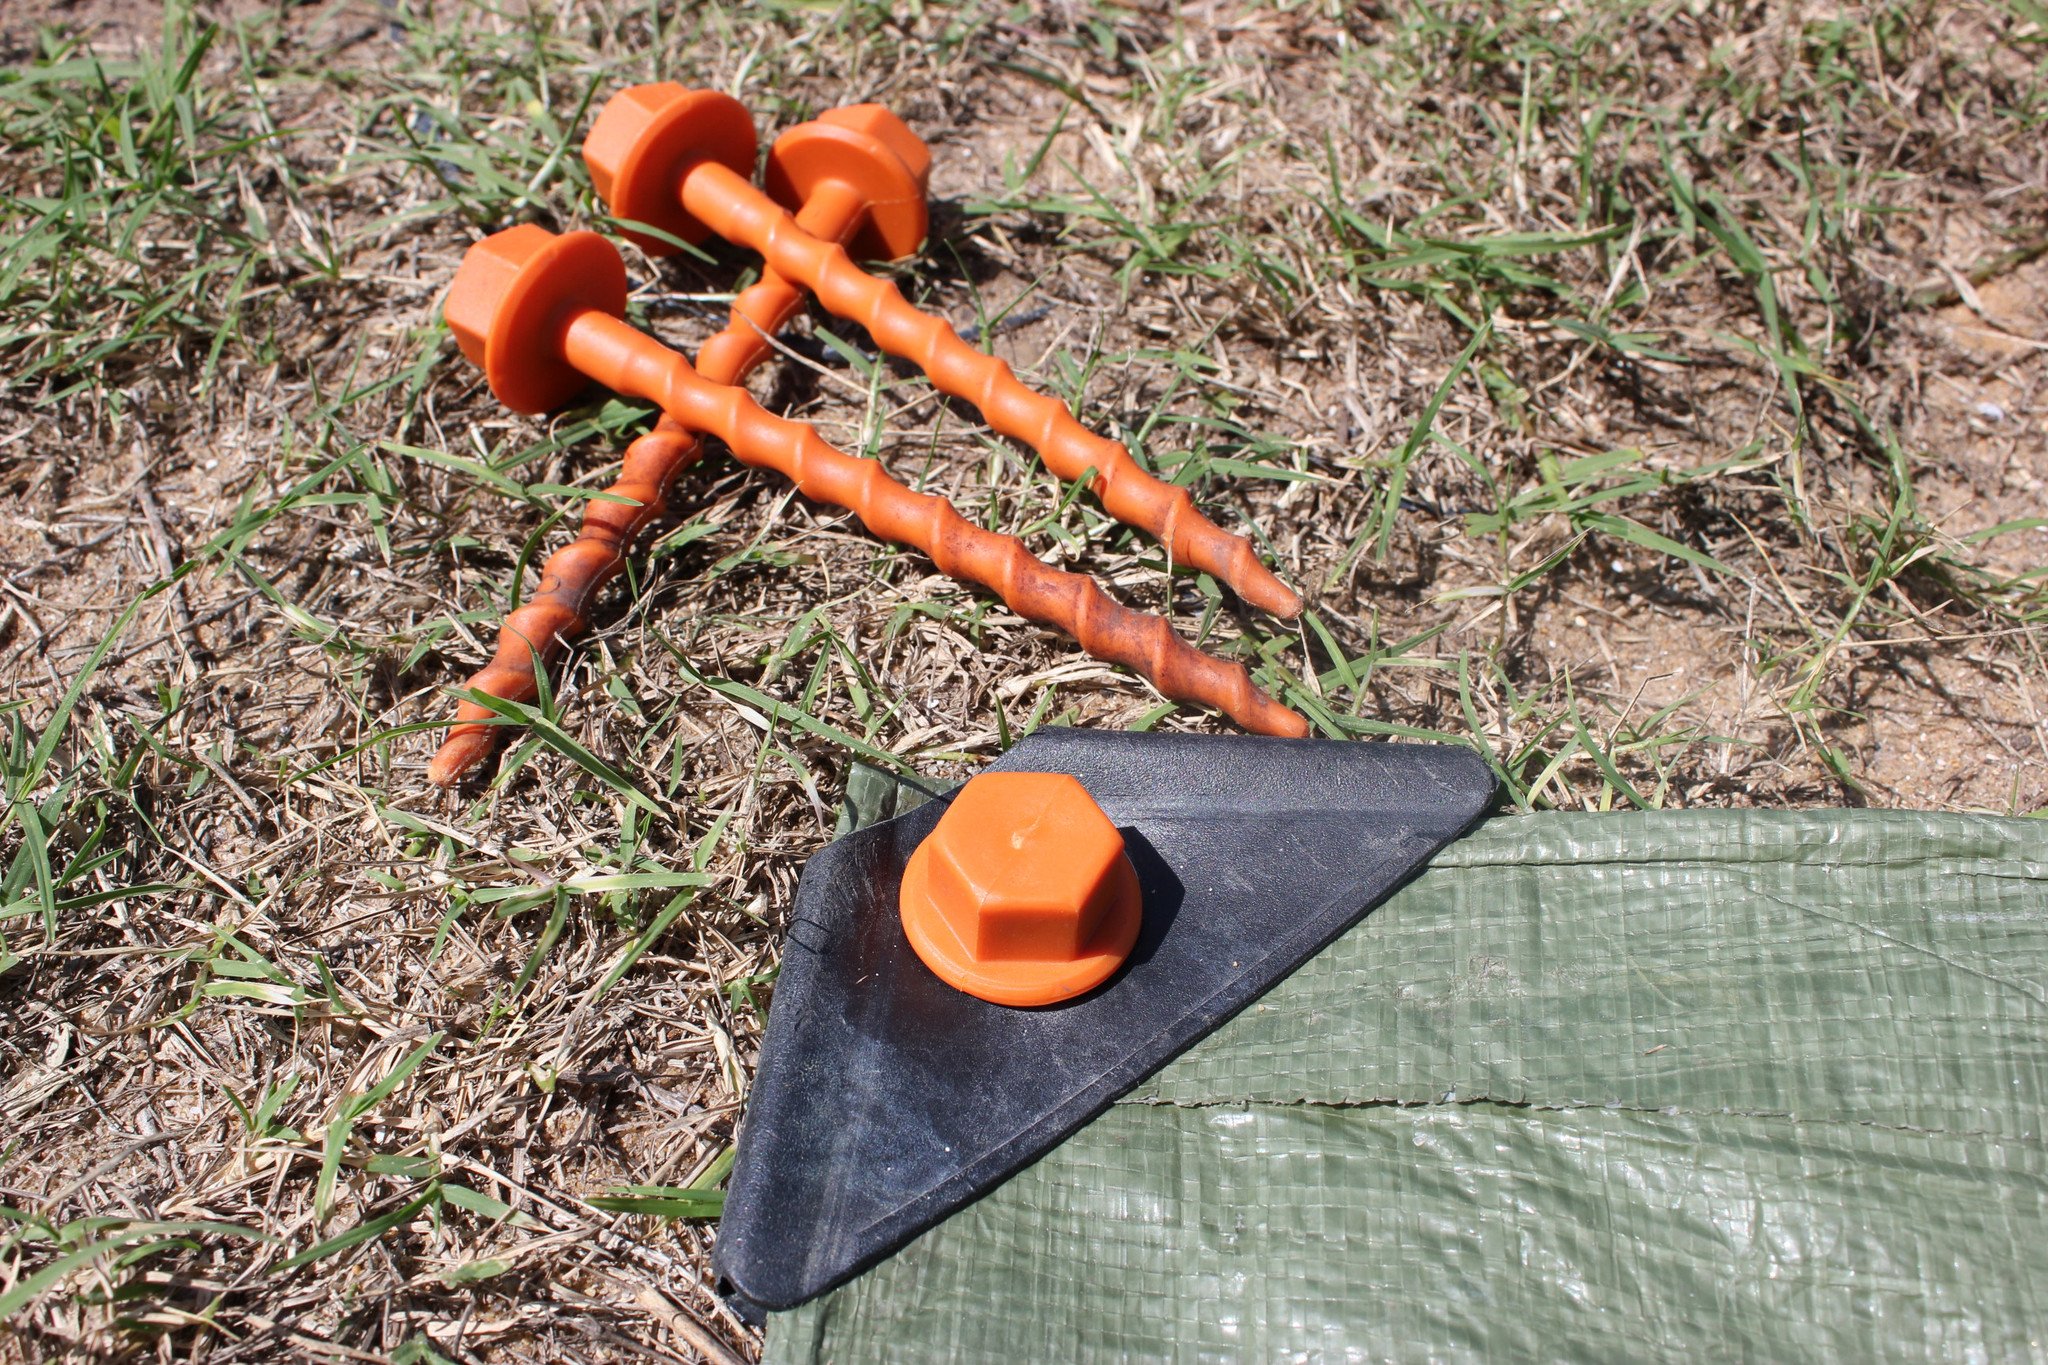
As the day warmed up the winds increased dramatically and we sat in the shade of the nearby trees and watched the tipi cop an absolute beating. It stood fast and not one peg pulled out of the ground, although I do need to point out that we were using our own Peggy Pegs screw in tent pegs in lieu of the standard alloy ones supplied with the tipi. There were no rips or tears and the centre pole didn't give an inch. We had the door rolled open and the wind was filling the tent like a balloon with each of the gusts, it was violent to watch and I have to say that once the winds settled I was shocked at how well it stood up to the test. We're looking forward to seeing how it stands up in some torrential rain next, my gut feeling is that it will be fine and all those now make sense.
 All in all the Gstove Tipi tent is a well thought out package, great little design features like the adjustable vents on either side and sewn in rain gutter around the door all point to a tent that has been designed to withstand the elements, yet remain light enough and compact enough that you won't need a trailer or roof racks to carry it, and whilst we wouldn't use the Gstove Tipi tent in a touring situation, for a weekender it's a great piece of kit.